
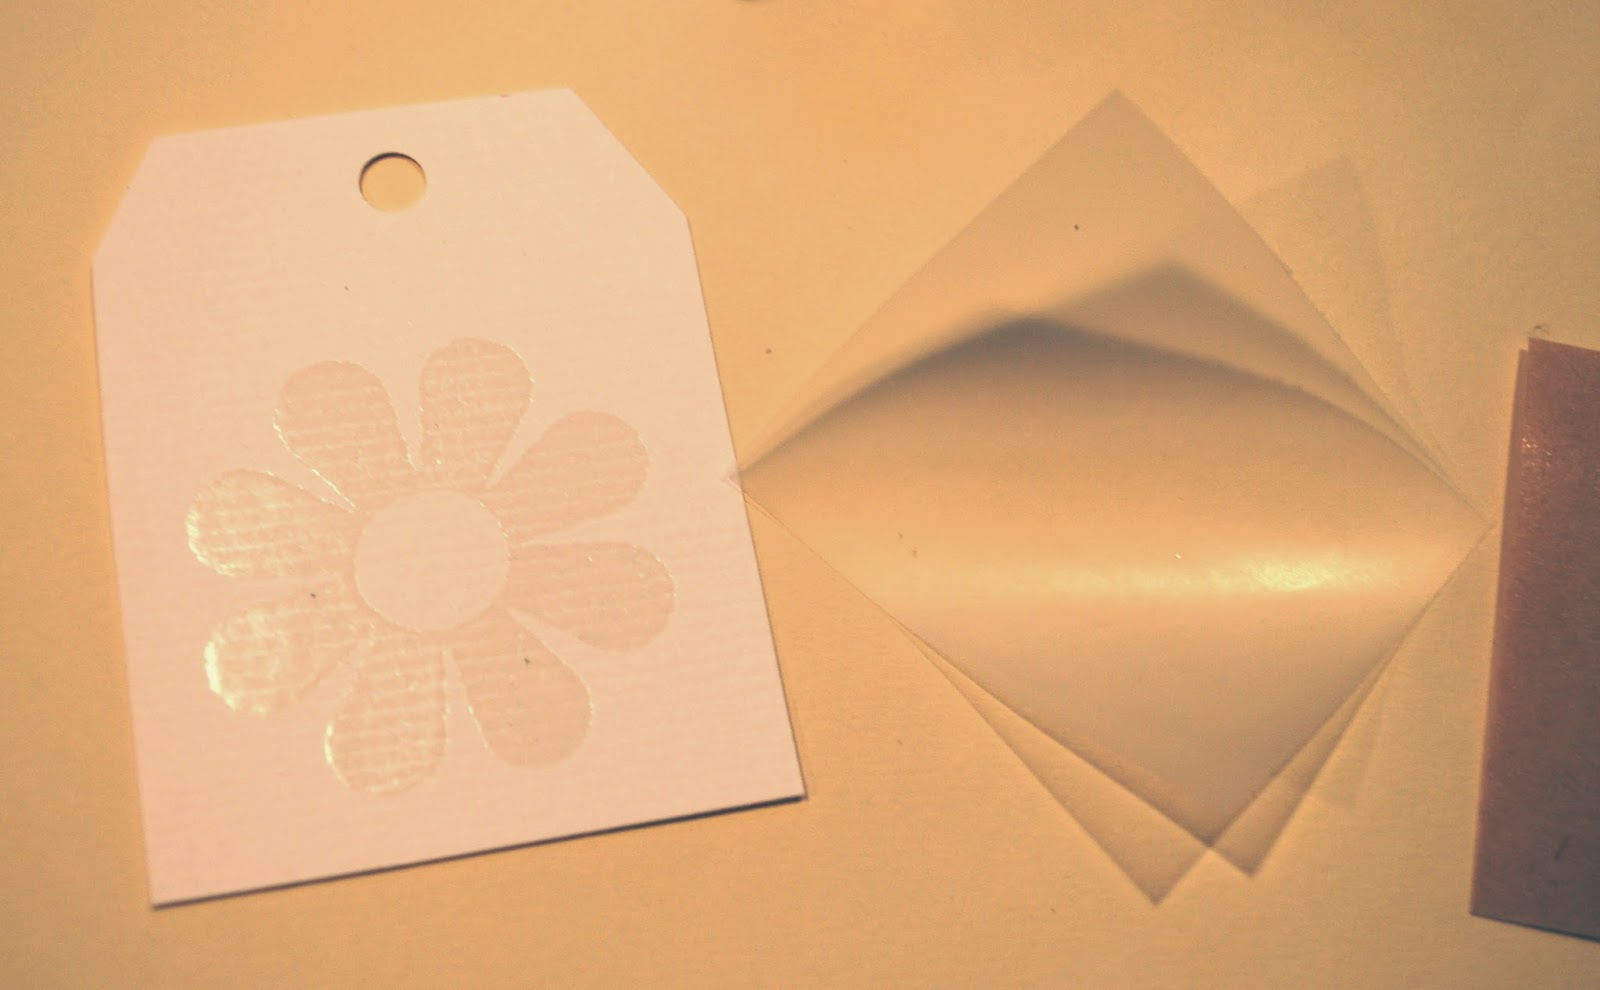
Design Adhesives are double sided adhesive patterns. A bit like rub ons. Some are intricately cut. They look wonderful with glitter and foil tape. The glitter I am using here is from Martha Stewart.

Peel away the backing from the paper. You can just see the image as you take off the paper. Pull the sheet off carefully. If you go too fast the design can pull and distort.

After the backing is removed place the paper on your paper and press down gently to make sure every piece of the design has transferred. Then remove the clear piece of plastic. The adhesive shape is now glued to the paper and awaiting some bling!
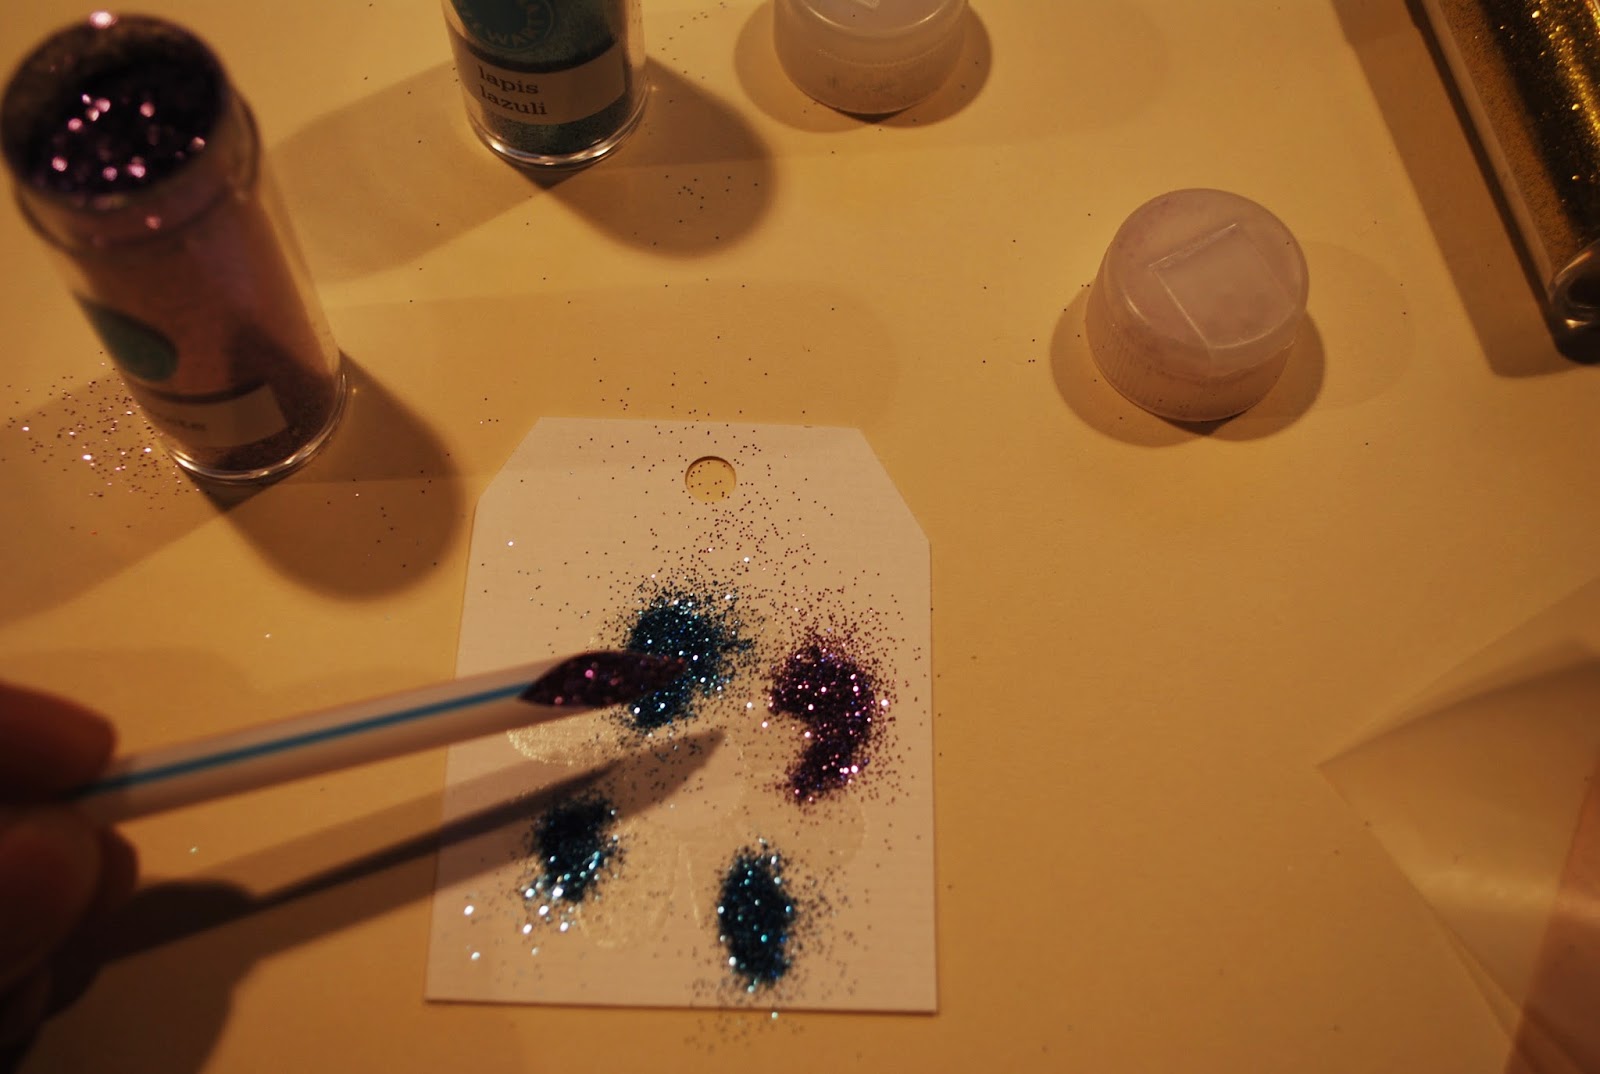
I'm adding various colors of glitter. The tool I'm using is just a piece of a plastic straw with the end cut at an angle. It's great for controlling how much glitter you are putting on a piece.

When all the glitter is on then turn it over and gently tap the back of the paper to remove the excess glitter. Don't wipe across the front of the paper or you'll brush the glitter off the design.
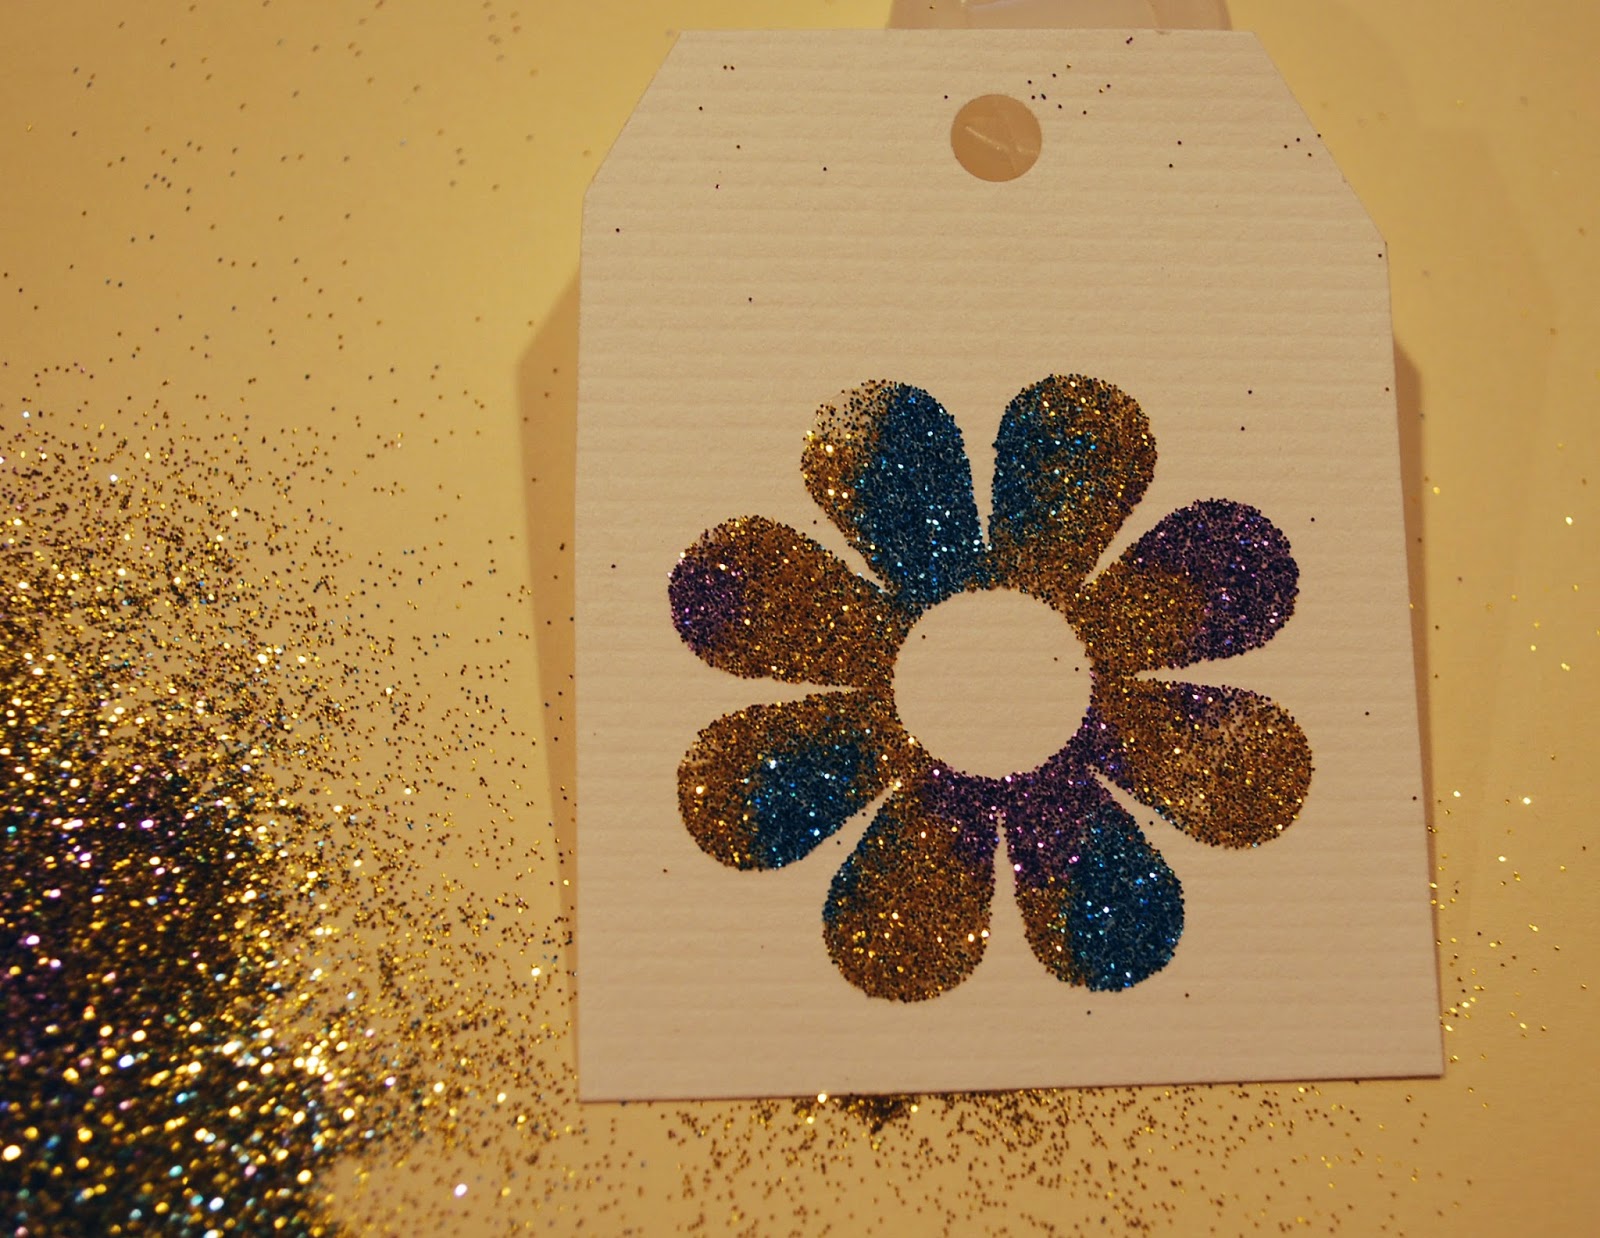
Perfect for a gift tag, small note, or a card. These design adhesives are great to use as an embellishment for cards.

Martha Stewart glitter colors used here: yellow barite, copper, lapis lazuli peridot, and tourmaline.
Design adhesives by Clear Snap - flower design.